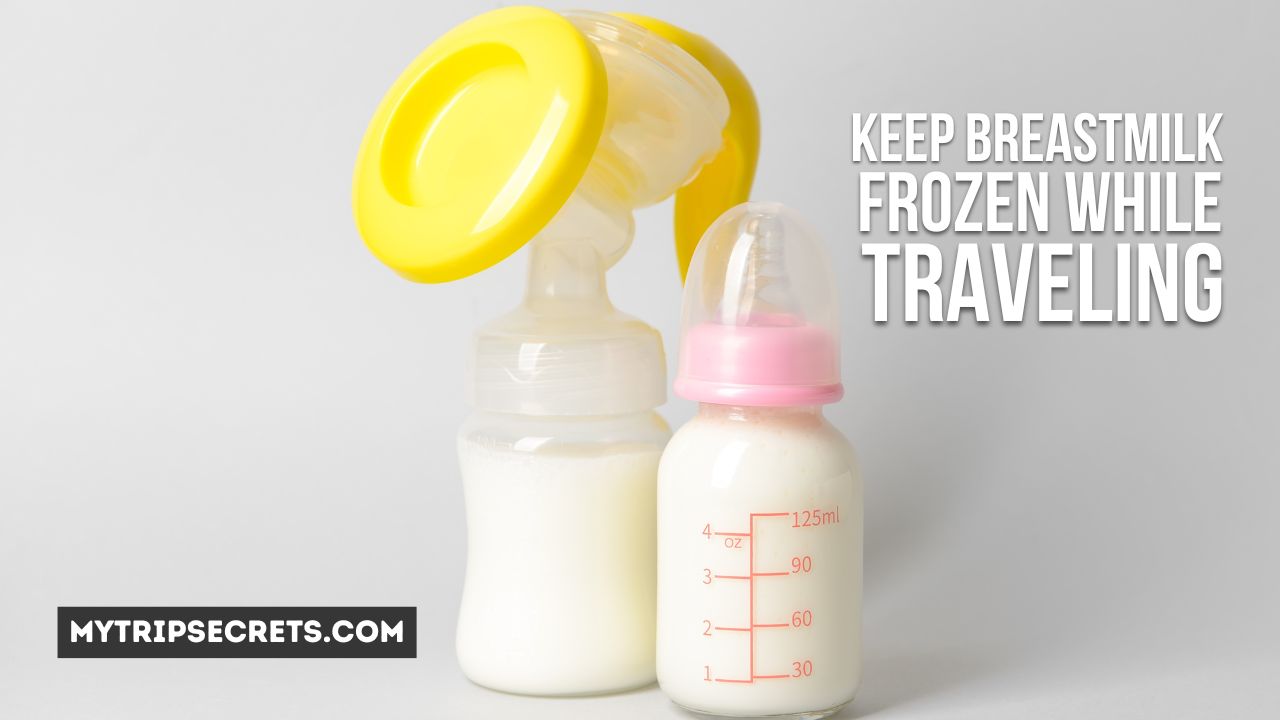
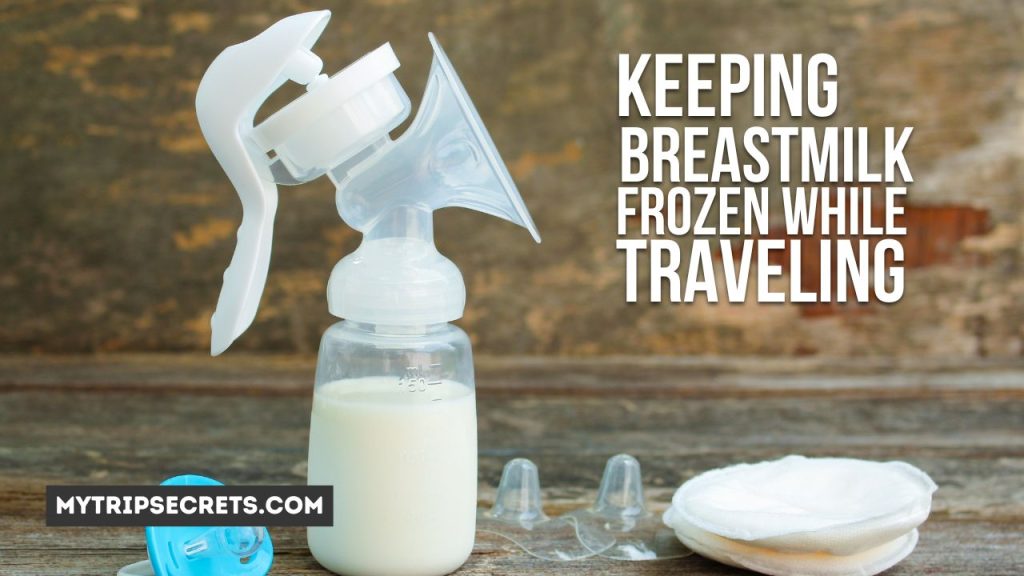
Transporting your precious liquid gold while keeping it frozen can cause anxiety for nursing moms. Proper storage preserves nutrients and prevents bacterial growth during feeds on-the-go. This article will provide 10 tips to help you confidently carry frozen breastmilk no matter where your family adventures take you.
Contents
- 1 Why Keeping Breastmilk Frozen Matters
- 2 10 Ways To Keep Breastmilk Frozen While Traveling
- 3
- 4 1. Invest in Quality Cooler Bags
- 5 2. Have Plenty of Ice Packs On Hand
- 6 3. Use Ice For Extended Trips
- 7 4. Pick Freeze-Safe Containers
- 8 5. Map Out Fridge/Freezer Access Points
- 9 6. Utilize In-Flight Refrigeration
- 10 7. Follow TSA Liquid Rules
- 11 8. Chill Before Packing
- 12 9. Limit Access/Direct Sunlight
- 13 10. Have Thaw Backup Plans
- 14 Packing Tips Based on Travel Method
- 15 Conclusion
Why Keeping Breastmilk Frozen Matters
Breastmilk is a miraculous food source specially designed to meet your baby’s nutritional needs. However, it does not have an indefinite shelf life. Bacteria can multiply rapidly at room temperature or fridge temperatures, making milk unsafe within hours or days. Freezing stops this bacterial growth in its tracks and preserves nutrients.
Frozen breastmilk maintains its integrity for:
- Up to 6 months in a deep freezer (-20°C)
- 3–6 months in a self-contained freezer unit (-15°C)
- 2 weeks in a refrigerator freezer (-4°C)
Proper storage matters. Thawed milk must be used within 24 hours and cannot be refrozen. Waste due to storage mishaps can be heartbreaking. Follow these tips to keep your milk usable for baby’s next feed.
10 Ways To Keep Breastmilk Frozen While Traveling
Print out and use this handy checklist to ensure you don’t forget any critical components for transporting and storing your liquid gold!
| Type | Item | Notes |
|---|---|---|
| Cooler Gear | ❑ High-quality insulated cooler bag(s) | Hard or soft-sided choices with 20+ hour cold rating |
| ❑ Ice packs | Pre-freeze lay flat styles for max coverage area | |
| ❑ Block ice | For extended cooling needs like road trips (2+ days) | |
| Milk Storage | ❑ Breastmilk storage bags | Freeze-safe with secure seal closure |
| ❑ Hard plastic bottles | Avoid glass; lids fasten tightly | |
| Travel Tools | ❑ Masking tape | Secure lids/labels on milk storage |
| ❑ Permanent marker | Label storage with date/time expressed | |
| ❑ Ice/bottle brush | Help pry out frozen milk or clean bottles |
1. Invest in Quality Cooler Bags
A high-end cooler bag specifically designed for freezing is worth its weight in gold. Seek out brands that advertise 20+ hours of cold retention and rapid re-freezing. Hard or soft-sided construction both work, ensuring you have maximal freezing capability no matter how you transport them.
2. Have Plenty of Ice Packs On Hand
Surrounding each milk storage container with frozen ice packs provides the best insulation. Flat ice packs maximize surface area coverage inside your bag. Allow for at least two packs per cooler bag as a general rule. Having extras frozen and ready means you can swap fresh cold ones in and refreeze used packs between stops.
3. Use Ice For Extended Trips
Block ice has significantly longer freezing capability than ice packs if you do not have regular access to freezers. If road tripping or camping, pack block ice in the bottom of the cooler before adding milk and ice packs. Plan to drain excess water as ice melts. Stopping for fresh ice helps extend freezing duration.
4. Pick Freeze-Safe Containers
The best vessels for transporting milk are freezer-safe bags or hard-sided plastic bottles that seal tightly. Glass looks lovely but risks breakage. Always secure tops with masking tape and label everything clearly in case of spills. Include date, time expressed, and baby’s name.
5. Map Out Fridge/Freezer Access Points
Whether flying, road tripping, camping or staying in hotels, map out any grocery stores, convenience shops, restaurants, etc that allow you to access a freezer or fridge. Note these “cold spots” where you can momentarily store milk or swap out fresh ice packs/ice along your route.
6. Utilize In-Flight Refrigeration
When checking milk to fly, take advantage of airline in-flight refrigeration services. Ask flight attendants to store your labeled cooler bags in fridge units before takeoff or during connections for added cold retention.
7. Follow TSA Liquid Rules
Breastmilk is exempt from the 3-1-1 liquids rules. You can take it through security checkpoints frozen, thawed, or liquid. Just declare it upfront and be prepared for additional screening if containers exceed 3.4 ounce sizes.
8. Chill Before Packing
An easy way to extend freezing time is to pre-chill all milk containers in the refrigerator or freezer overnight before packing in the cooler bags. Similarly, chilling cooler bags beforehand helps them maintain reduced temperatures better.
9. Limit Access/Direct Sunlight
Try to limit how frequently you open cooler bags once packed to reduce cold air escaping. Avoid leaving bags in direct intense sunlight whenever possible. Seek shade in the trunk vs hot car seats.
10. Have Thaw Backup Plans
Sometimes despite best efforts, milk starts thawing or only stays cool vs frozen. Have ready game plans if this happens – use within 24 hours if partially thawed; use right away or within 4 hours if fully thawed.
| Timeframe | Freezing Tips |
|---|---|
| Short Trips (0-4 hrs) | ● Insulated cooler bags ● 1-2 ice packs per bag |
| Full Day Trips | ● Access mid-day to swap ice packs ● Store in coolest spot (shaded) |
| Overnight Stays | ● Take advantage of hotel ice machines ● Chill milk in room fridge if available |
| Road Trips (multiple days) | ● Use block ice for extended freezing ● Map out fridge/freezer access points |
| Flights (variable durations) | ● Request flight crew refrigeration ● Insure for lost/damaged milk |
Packing Tips Based on Travel Method
Your transportation choices influence how much freezing capability you’ll have access to. Pack milk accordingly.
Flying with Milk
Air travel restricts liquids in carry-ons, so check as many frozen milk containers as airline baggage allowances permit. Insulated cooler bags with frozen gel packs provide 4+ hours of freezing.
| Item | Details |
|---|---|
| Cooler bags | Choose well-insulated bags rated for 20+ hours. Pre-freeze gel packs to max cold life. |
| Milk containers | Hard-sided bottles or bags designed for freezing work best. Glass bottles are prone to breaking. |
| Tape | Masking tape lets you securely fasten lids and label storage bags. |
| Freezer packs | Pack enough frozen packs to surround milk for duration of travel. |
Road Trips with Frozen Milk
Driving allows more flexibility with coolers, ice, and freezing sources along your route. Plan longest segments between fridge/freezer access first.
- Pack largest cooler your car can accommodate
- Use block ice for 1-2 days cold retention
- Mapping out grocery/convenience stores for ice runs helps
- Time milk access/ice additions around baby’s feeding schedule
Camping/Hotels with Frozen Milk
Roughing it in a tent or relaxing in a resort—in between adventures you’ll have limited refrigeration.
- Use high-quality coolers and ice packs
- Take advantage of hotel ice machines
- Store milk in shadiest, coolest spot possible
- Never let milk sit out unchilled more than 2 hours
What to Do If Milk Thaws En Route
Sometimes despite best efforts, stored milk partially or fully thaws if cooling capability falls short. Here is what to do if faced with thawed or lukewarm milk:
- Partially thawed – Use within 24 hours
- Fully thawed – Use right away or store up to 4 hours in fridge before feeding
- Lukewarm/warm – Discard
Do not refreeze thawed milk. The milk fats break down during freezing/thawing and nutrients cannot be preserved again.
Frequently Asked Questions
How long can frozen breastmilk sit out unrefrigerated?
Two hours maximum. Bacteria multiply rapidly as milk thaws and warms. Discard any thawed milk left out longer.
Can I take breastmilk through airport security?
Yes, TSA allows a “reasonable amount” of frozen/thawed milk exempt from the 3-1-1 liquids rule. Alert agents during screening.
What is the best way to transport milk on long car trips?
Pack a large cooler with block ice and frozen ice packs surrounding milk for max cold retention. Map out grocery/convenience stores along your route to replenish ice.
How many freezer ice packs should I have on hand?
The general rule is have at least two ice packs per cooler bag. Larger or more insulated coolers require additional packs to maintain temperature.
Can I reuse breastmilk storage bags?
Never reuse bags or bottles that have held milk before. The leftover milk residue risks new bacterial contamination. Always use new sterile containers.
What’s the maximum time milk can be unrefrigerated?
Two hours only. Bacteria multiply rapidly as milk warms. After two hours without refrigeration, always discard thawed or lukewarm milk.
Conclusion
Traveling with your breastmilk while keeping it frozen can feel daunting. But a bit of planning goes a long way! Invest in quality coolers, ice packs, and freeze-safe milk storage options. Map out access to refrigeration/freezers based on your transportation method and schedule. Label everything clearly and follow safe handling guidelines if the milk unavoidably thaws. Most importantly—enjoy your family adventures knowing your milk will be nourishing your baby, wherever your journeys take you!
More Helpful Article That Might Help You:
How to Get Clients as a Travel Agent
25 Tips for Enjoying Solo Travel
This Is How You Can Quit Your Job and Travel The World